Link to My Shasta 16-SC Pictures

Monday, June 18, 2012

Painting


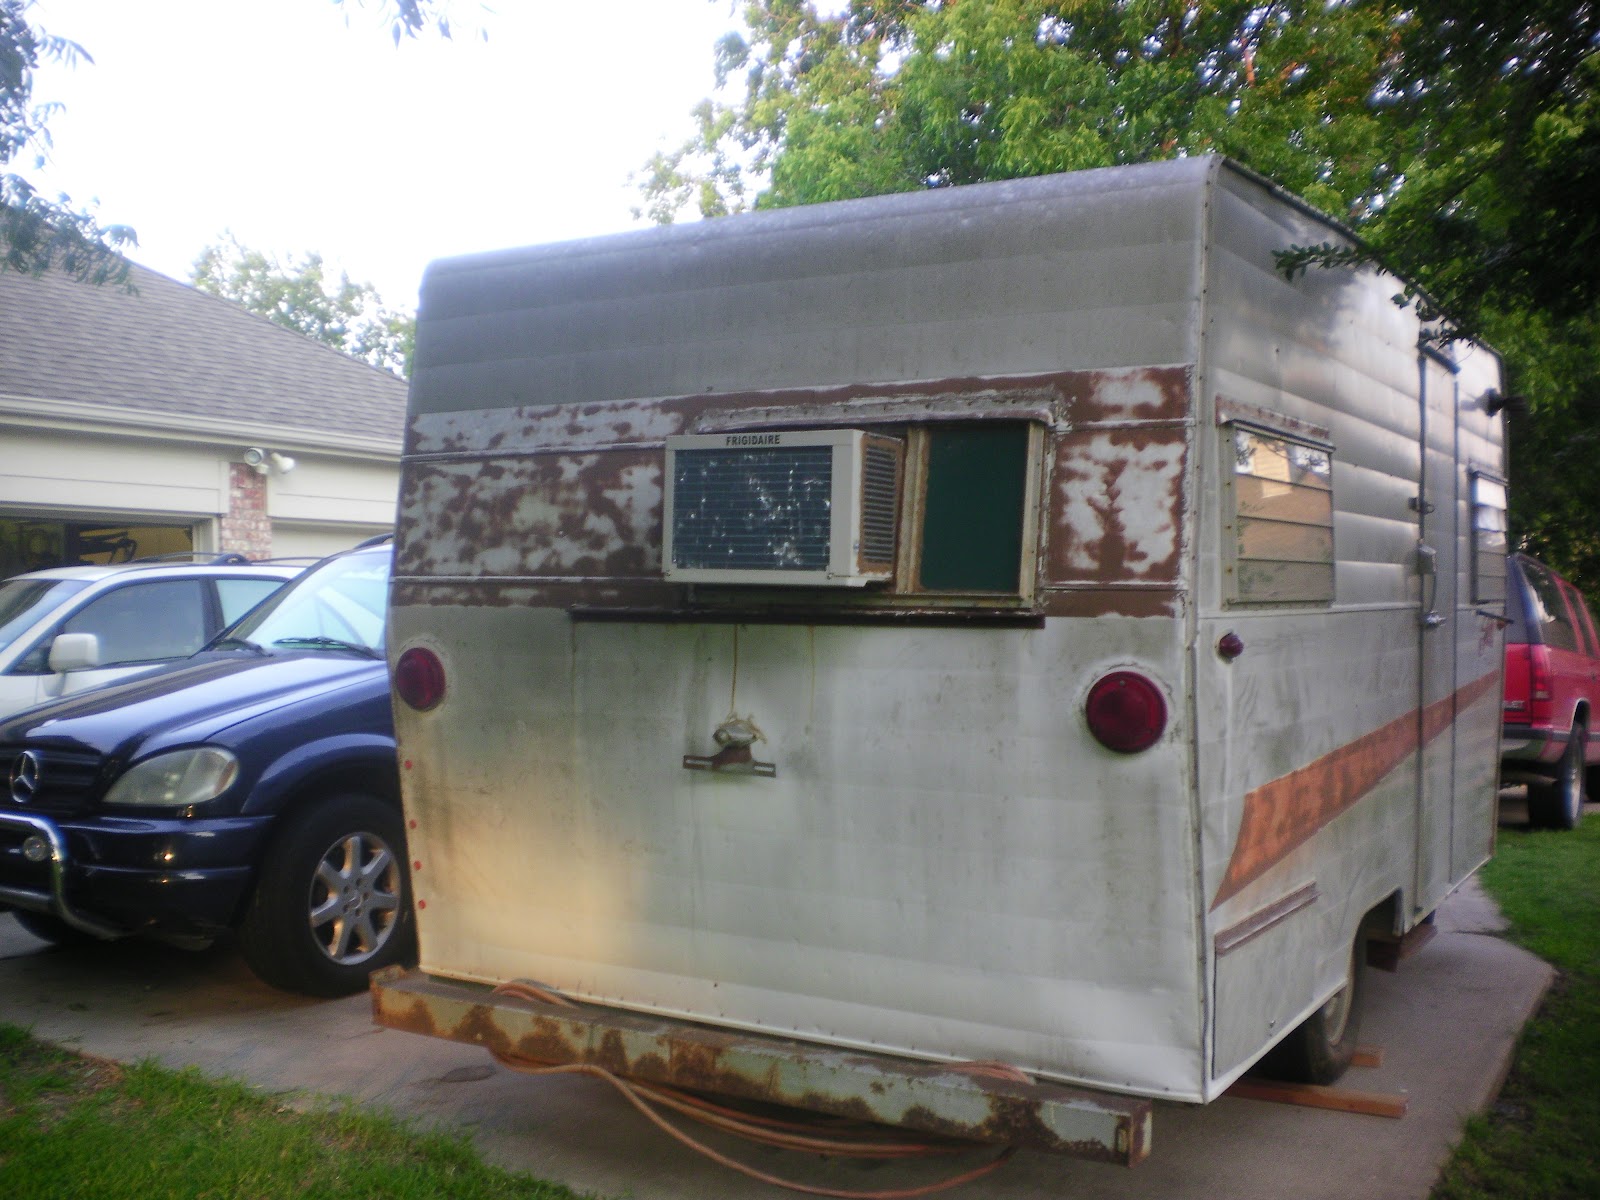
Trailer with windows removed, 1st coat of Sherwin Williams DTM (Direct To Metal) Paint. Really liked the product, went on well with a 10% thin rate. It's designed for Bare Aluminum and seems to work very well. Cleaned trailer with TSP solution before spraying. We let it set for 5 days before wet sanding the trailer with 1200 grit paper. Product is a Semi-Gloss but has low shine with only one coat.


The man, 8 going on 40. Did most of the taping before the paint went on. He did a great job. 


2nd coat of paint was a Valspar Product called  Duramax. Did not realize until I got home how thick it was and it said brush or roll and no thinning. So I did what I a red blooded American man would do, trashed instructions and thinned paint. Sprayed like a dream with a 10 % reduction and a # 20 nozzle. Gunnar did the wet sanding after it sat for a week to cure. He did a great job and paint is slick and shiny for a Semi-Gloss. 

Red Slash will be added soon.


Roof Coating

Okay, So here's my roof. It was coated with a nasty product intended for barn roofs by the PO.  Gunnar and I spent the better part of a week with Gel Paint Stripper and air and hand scrapers getting that mess off. I then cleaned the roof with Acetone before using Dicor Seam Tape on the joints. I used a J-Roller to get a great seal. Also, used the tape rolled over the sides of the roof before Butyl Tape and J-Rail replaced. Around the Skylight used the tape and self leveling Dicor caulk to make water tight. The white coating you see above is 4 coats of Kool Seal rolled on in different directions for each coat. Yes, I have heard is stains bad, but hey its WHITE and under trees and such. So far so good with ours and I liked the way the product went on the roof. 

Found it at Walmart for HALF or more what some places wanted for a Gallon. Used almost 2 gallons on our roof.

Drafting Plan


New Framing


Header blocks to attach ceiling to. Similar setup will be used between rafters to screw cabinets to.


Naked Shasta

Old and New framing in the walls in the following pics. There are more by clicking on the trailer picture on the home page.


New floor and all floor plates repaired. New bottom wall  studs with glue and pocket hole screws. Left skin off until all bottom front, back and sides completed.


New wall gusset over door with front edge of  wall plate installed. Made a pattern for the wall plate and cut it in a single piece for both sides of the trailer.

Upper wall plate instead of how Shasta did their plate. Way stronger. Rafter glued and screwed to plate as well.

Rear wall plate installed to corner post.

Add caption


As you can see from the pics I used a bit more wood than Shasta. More is better Right?  I'm pulling this with a Suburban, not a Model T, bet I can handle a touch more weight.

Add caption

Finding Rot

Well there has to be a starting point in finding problem areas. So we started  by the remains of the skylight.  Pulled down the water damaged ceiling panel to find entire roof supports rotted out, as in gone. This is where I realized a coat of paint was not going to be a fix. Gut and redo here we come. This all started in May of 2011. It was at this point when it was decided to spend time and money to make it the trailer we wanted, not just and old trailer we bought. 

Rot by the steps There was rot everywhere, so we removed the bottom aluminum from the entire trailer and striped everything from the interior. 

After we removed the side cabinet and paneling it was rotted  to the outside. Not just rotted, but the boards used in construction were finger jointed and the glue was no longer holding them together. Shasta also used a staple system to frame the boards together, I used a pocket hole system from Kreg. It's a great way to fix a wall. 

Rotted side roof beam.

Side roof beam rotted through from years of water. 


There are 4 corners on a Shasta Trailer. 3 of ours was not attached to floor sills any longer. Just the skin holding the trailer together.

Rear wall with the supports missing under window and wall and floor. See what a a/c and window leak will do over the years. 

Starting Point

Okay here is the trailers arrival at it's new home. I am sure my neighbors appreciate  what I have done or about to do in my driveway. If any of you see this post thanks for not crying foul. I was raised on a farm and part of the reason I am the way I am. 

Moved into her place for months of work, outside in the Texas heat and winter. Wish I had my shop on the farm. This folks is where Shade Tree Mechanic or other such terms can be applied. Also, make note of the window where the a/c is hung. In a later post you will see it with the new window pane and would like to thank Mitch now for welding up all the holes in the frame from the PO's handy work.

Just a plain ole side shot. Oh what was hidden under that aluminum skin.

PO had put down Plywood over the old floor. It hide a ton of issue's.

This is what you find when you can finally dig around a bit. You could not use the step because of all the rot and it's a real wonder it did not just fall off going down the road.

A lot of trash in the camper. This was taken after stuff removed from counter.

Please note a/c on rear wall with the 2 x 4 braces. When trailer was set level water from the a/c ran down the wall. Caused a massive amount of rot. More on that later. 

Bad picture I know. But there was stuff everywhere.