Link to My Shasta 16-SC Pictures

Tuesday, January 22, 2013

Been Awhile.

Starting out the new year with a ton of work completed on the Shasta. Is the trailer finished? No, but its way closer than it was just 2 months ago. Blake and I actually took it on a Boy Scout "Polar Bear" Camp out the Weekend on Jan. 11th. It was the shake down trip. Found a couple of problems and we found out we had done a lot of stuff just right on the trailer. Here's a list of whats to complete.
1. Cabinet Doors.
2. Trim Work and Stain.
3. Replace Hot Water Heater. (Did a pressure check before install, but now it leaks.)
4. Have his Grandmother cover the cushions and make curtains. Thanks Barbara.
5. Bunk Bed up front. Son wants it for some reason.
6. Have some LED's to install.
7. Need to install 12 volt Water Pump.
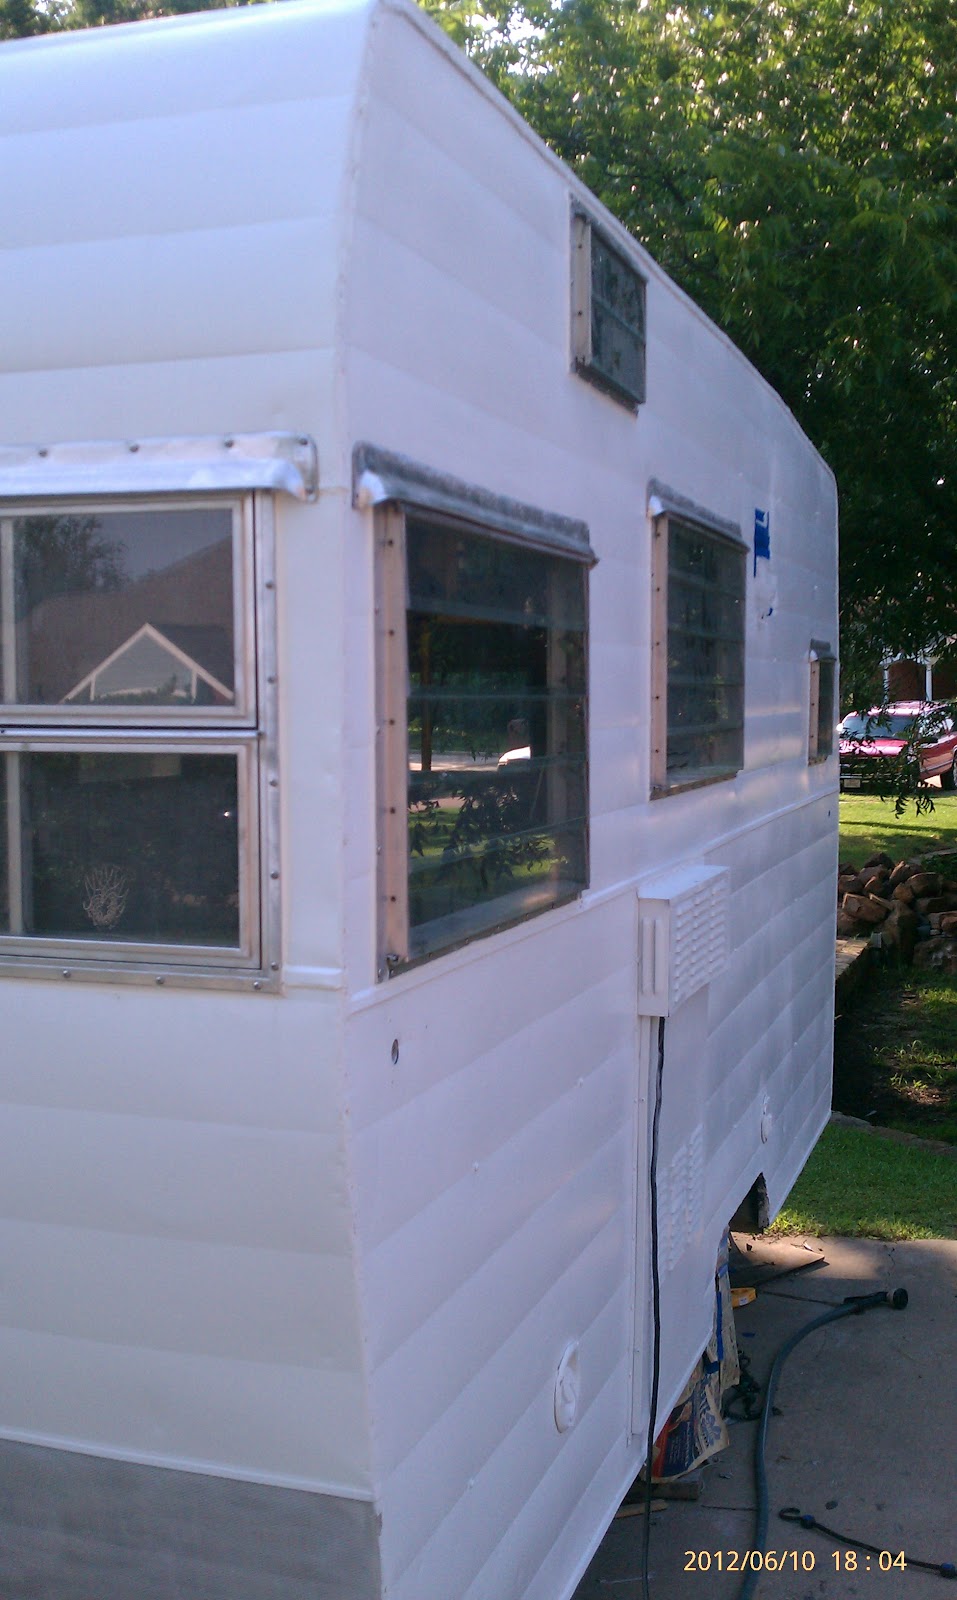
8. Paint Stripe outside and Install Emblems.
9. Flooring.


What's Complete since last post.

1. Paneling.
2. Electric Wiring both 120 volt and 12 volt.
3. Plumbing.
4. Made a 12 volt power source from a Computer Power Supply. Works like a charm.
5. Front Bed, Gaucho Bed, and Cabinets.
6. Found Foam Mattress's at IKEA for cheap in the clearance section, will be cushions.
7. Built-in Microwave, A/c  and Fridge. Also mounted Flat Screen.
8. Wired all Outside Trailer Lights.
9. Installed Water tank.


I am pretty sure the list above are not complete. But the point is from what we started with to date it has been a great improvement. Melinda talked to the fine folks at DMV and confirmed we have a 1964 Shasta 16-SC and that it looks like we are the 3rd Owners. Our VIN starts with a 4T and I have not been able to find out which plant used the 4T in the Vin's. Side plate shows trailer made in North Ridge, Ca. However, on the trailer forums it does not show a 4T in their vin's.


Built-in Microwave over Gaucho Bed. Bed slides out to be 50" x 77". It also folds up so you can load items easier.
We did not put the Stove back in the trailer. I did not want to rebuild or clean it and Melinda 
thought it better if we left it out. Did I mention she's BOSS. But trailer is wired for 30 amp
service now and induction cook-top and grill works great.

These cushions will be replaced, but it works great as is. Blake loves sleeping here.

Trailer on left is used as a camp trailer as well. Melinda bought it at a garage sale and I modified. 
Great for a weekend tent trip or a trip to Canton Trades Days. 

Bike rack on the back. Sweet. 


Last picture here was taken at Lake Bob Sandlin State Park. We had a great time there for the weekend.             The Park Ranger's and Staff could not be nicer, and I highly recommend a visit to this park. 


Monday, June 18, 2012

Trailer To Date


New and Old. Many hours have gone into this project. I have enjoyed most of them. Outside of the trailer is nearing completion, Red Stripe will be added soon. J-rail has been installed and will post pic of it soon. Small amount of paint touch up to do. Also I used a product from Home Deport to caulk the windows over the Butyl Tape and the side seams. It's called Loctite PL Sealant. It is paintable and I used white. Did notice after it cured it yellowed some so I will spray it back white to match trailer color. It is a Sealant so it sticks and seems to work great. At 6 bucks a tube its hard to beat.

Time to turn attention to the interior. I have made layout lines on the floor for the cabinets and walls. I will be using a bench in the front of the trailer instead of the 2 bench seats it came with I think. Plan for now at least. Order of business is as follows;
1. Finalize Layout.
2. Run trailer tail, brake light, etc.
3. Run 30 amp service and 110 outlets, etc.
4. Finish Insulation.
5. Put up ceiling.
6. Install wall board. Using a 4x8 modern sheet from Lowe's, Melinda picked out.
7. Build cabinets, walls, upper bunk bed, etc.
8. Build cabinet doors, etc.
9. Trim and Finish.
10. Whatever else pops up and needs done, like water pump, tank, etc.

Just a day or two of work, yeah right!

Progress is being made and it's still fun.
 

Painting


Trailer with windows removed, 1st coat of Sherwin Williams DTM (Direct To Metal) Paint. Really liked the product, went on well with a 10% thin rate. It's designed for Bare Aluminum and seems to work very well. Cleaned trailer with TSP solution before spraying. We let it set for 5 days before wet sanding the trailer with 1200 grit paper. Product is a Semi-Gloss but has low shine with only one coat.


The man, 8 going on 40. Did most of the taping before the paint went on. He did a great job. 


2nd coat of paint was a Valspar Product called  Duramax. Did not realize until I got home how thick it was and it said brush or roll and no thinning. So I did what I a red blooded American man would do, trashed instructions and thinned paint. Sprayed like a dream with a 10 % reduction and a # 20 nozzle. Gunnar did the wet sanding after it sat for a week to cure. He did a great job and paint is slick and shiny for a Semi-Gloss. 

Red Slash will be added soon.


Roof Coating

Okay, So here's my roof. It was coated with a nasty product intended for barn roofs by the PO.  Gunnar and I spent the better part of a week with Gel Paint Stripper and air and hand scrapers getting that mess off. I then cleaned the roof with Acetone before using Dicor Seam Tape on the joints. I used a J-Roller to get a great seal. Also, used the tape rolled over the sides of the roof before Butyl Tape and J-Rail replaced. Around the Skylight used the tape and self leveling Dicor caulk to make water tight. The white coating you see above is 4 coats of Kool Seal rolled on in different directions for each coat. Yes, I have heard is stains bad, but hey its WHITE and under trees and such. So far so good with ours and I liked the way the product went on the roof. 

Found it at Walmart for HALF or more what some places wanted for a Gallon. Used almost 2 gallons on our roof.

Drafting Plan


New Framing


Header blocks to attach ceiling to. Similar setup will be used between rafters to screw cabinets to.


Naked Shasta

Old and New framing in the walls in the following pics. There are more by clicking on the trailer picture on the home page.


New floor and all floor plates repaired. New bottom wall  studs with glue and pocket hole screws. Left skin off until all bottom front, back and sides completed.


New wall gusset over door with front edge of  wall plate installed. Made a pattern for the wall plate and cut it in a single piece for both sides of the trailer.

Upper wall plate instead of how Shasta did their plate. Way stronger. Rafter glued and screwed to plate as well.

Rear wall plate installed to corner post.

Add caption


As you can see from the pics I used a bit more wood than Shasta. More is better Right?  I'm pulling this with a Suburban, not a Model T, bet I can handle a touch more weight.

Add caption